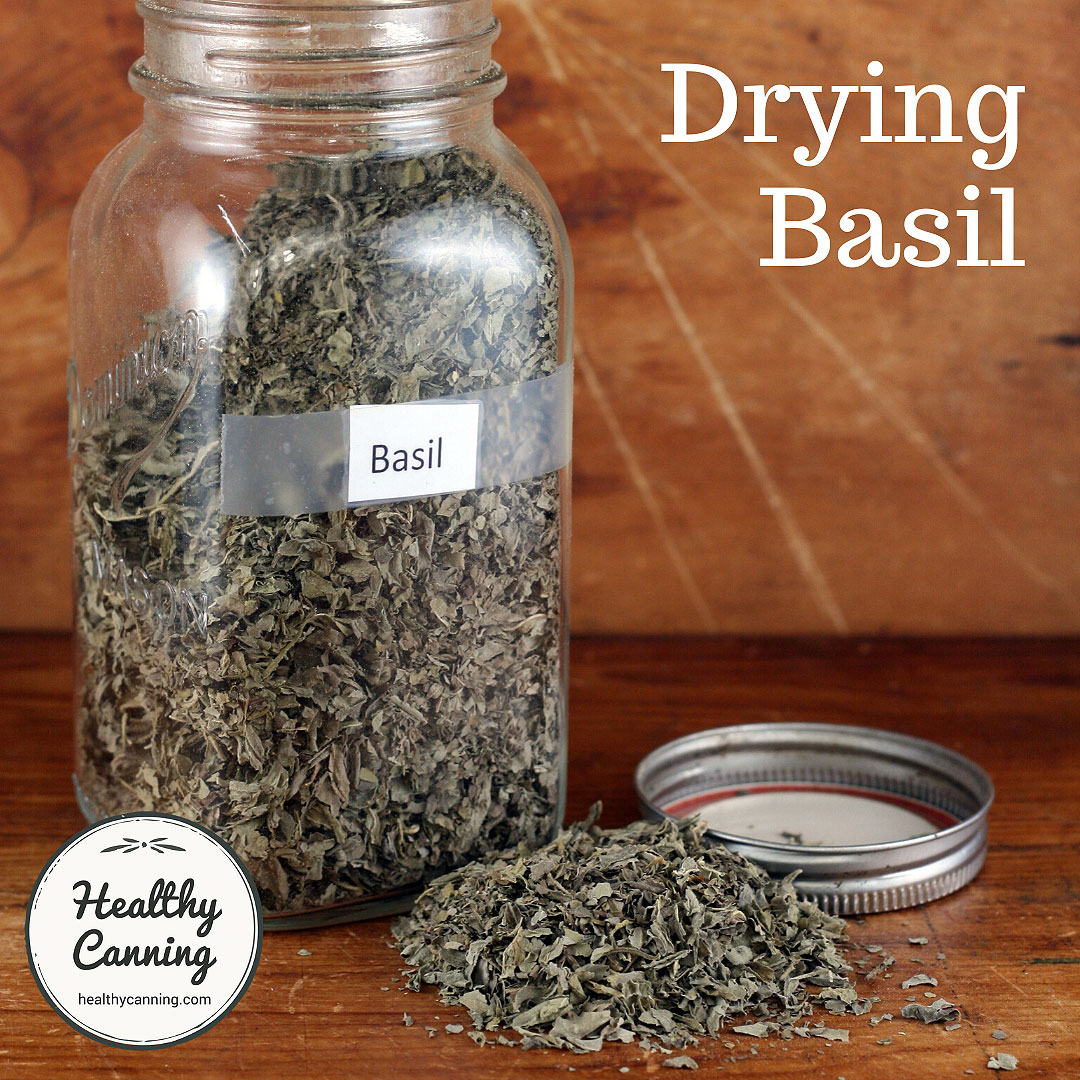
Dried basil
Basil is an easy herb to grow and dry. Home drying basil with a dehydrator can produce a high-quality dried product that is infinitely better than the store-bought version for flavour and aroma.
Growing enough to basil to dry
Grow at least half-a-dozen basil plants at a time, if possible. The reason is to give yourself enough of a basil harvest at a time to make it worthwhile firing up the dehydrator: it’s just not worth turning a dehydrator on for a handful of leaves.
Depending on where you are and the growing conditions of where you are growing your basil (sun, partial-shade, etc), you should be able to get 3 to 4 harvests off your plants in one season. Leave some leaves on after each harvest so you don’t kill the plant, but basil responds well to being harvested and grows more vigorously afterward.
Harvest basil before it flowers. If flowers start to appear before you are quite ready to tackle it, take 10 seconds to snip the flowers off. (Discard them.)
Drying basil in a food dehydrator is superior to hanging it to dry, because the faster drying can lock in the flavour and colour better.
Yields and Equivalents
To come
Directions
Preparation: Discard fading or brown leaves. Wash leaves, then dry thoroughly. If you have a salad spinner, spin the leaves until very dry. The Excalibur guide notes, “If the leaves are still wet [when you are about to put them in the dehydrator], they may turn brown.” (You can store the prepared leaves in a sealed plastic bag in the fridge for up to five days before drying.) Spread the leaves over the dehydrator trays.
Blanching: None.
Temperature: 95 F / 35 C
Time: Until crisp and crumbly — 2 to 4 hours, depending on humidity of the air.
Quality: Excalibur rates quality as high
Reference: Excalibur. Preserve it naturally. 4th edition, 2012. Page 77.
Air-drying basil
“So Easy to Preserve” gives this general advice for drying tender-leafed herbs such as basil by hanging to dry:
“Tender-Leaf Herbs — Basil, oregano, tarragon, lemon balm and the mints have a high moisture content and will mold if not dried quickly. Try hanging the tender-leaf herbs or those with seeds inside paper bags to dry. Tear or punch holes in the sides of the bag. Suspend a small bunch (large amounts will mold) of herbs in a bag and close the top with a rubber band. Place where air currents will circulate through the bag. Any leaves and seeds that fall off will be caught in the bottom of the bag.” — So Easy To Preserve. 6th Edition. 2014. Page 359.
Freezing basil
This advice comes from Julie Garden-Robinson at North Dakota State Extension:
Freezing: To freeze basil, first remove the stems and blanch the leaves in water for three seconds. Then dry the basil with a paper towel and separate leaves to put into a freezer-tight bag. Another way to freeze basil is to puree it and put it into an ice cube tray. Then cover the tray and freeze. [ref]Garden-Robinson, Julie: Field to Fork: Basil. North Dakota State Extension Service. FN1935. Reviewed Jan. 2020 Accessed April 2020 at https://www.ag.ndsu.edu/publications/food-nutrition/field-to-fork-basil [/ref]
Notes
The Excalibur guide actually wants you to wash the leaves while still on the basil plants:
“Wash plant leaves the evening before prior to harvesting.” We feel this is tedious, however, and likely to be unthorough (and what if an early morning bird poops on them, or an animal with soiled paws walks through them, before you get at them the next day?), and have switched instead to the salad spinner advice to ensure lack of moisture before going into the dehydrator.
Julie Garden-Robinson, mentioned above under freezing, disagrees about the quality of dried basil. She writes, “Drying basil is not the best option because the flavor of the herb changes dramatically.”[ref]Ibid.[/ref]
Storage
Let the dehydrated product cool completely to room temperature before packing it into storage containers.
Watch the sealed containers for the first few days for any sign of condensation. If condensation occurs, dehydrate a bit more.
Label jar with name of product and date. Store away from heat and direct light.
Usage notes
There is no need to rehydrate dried basil before use.
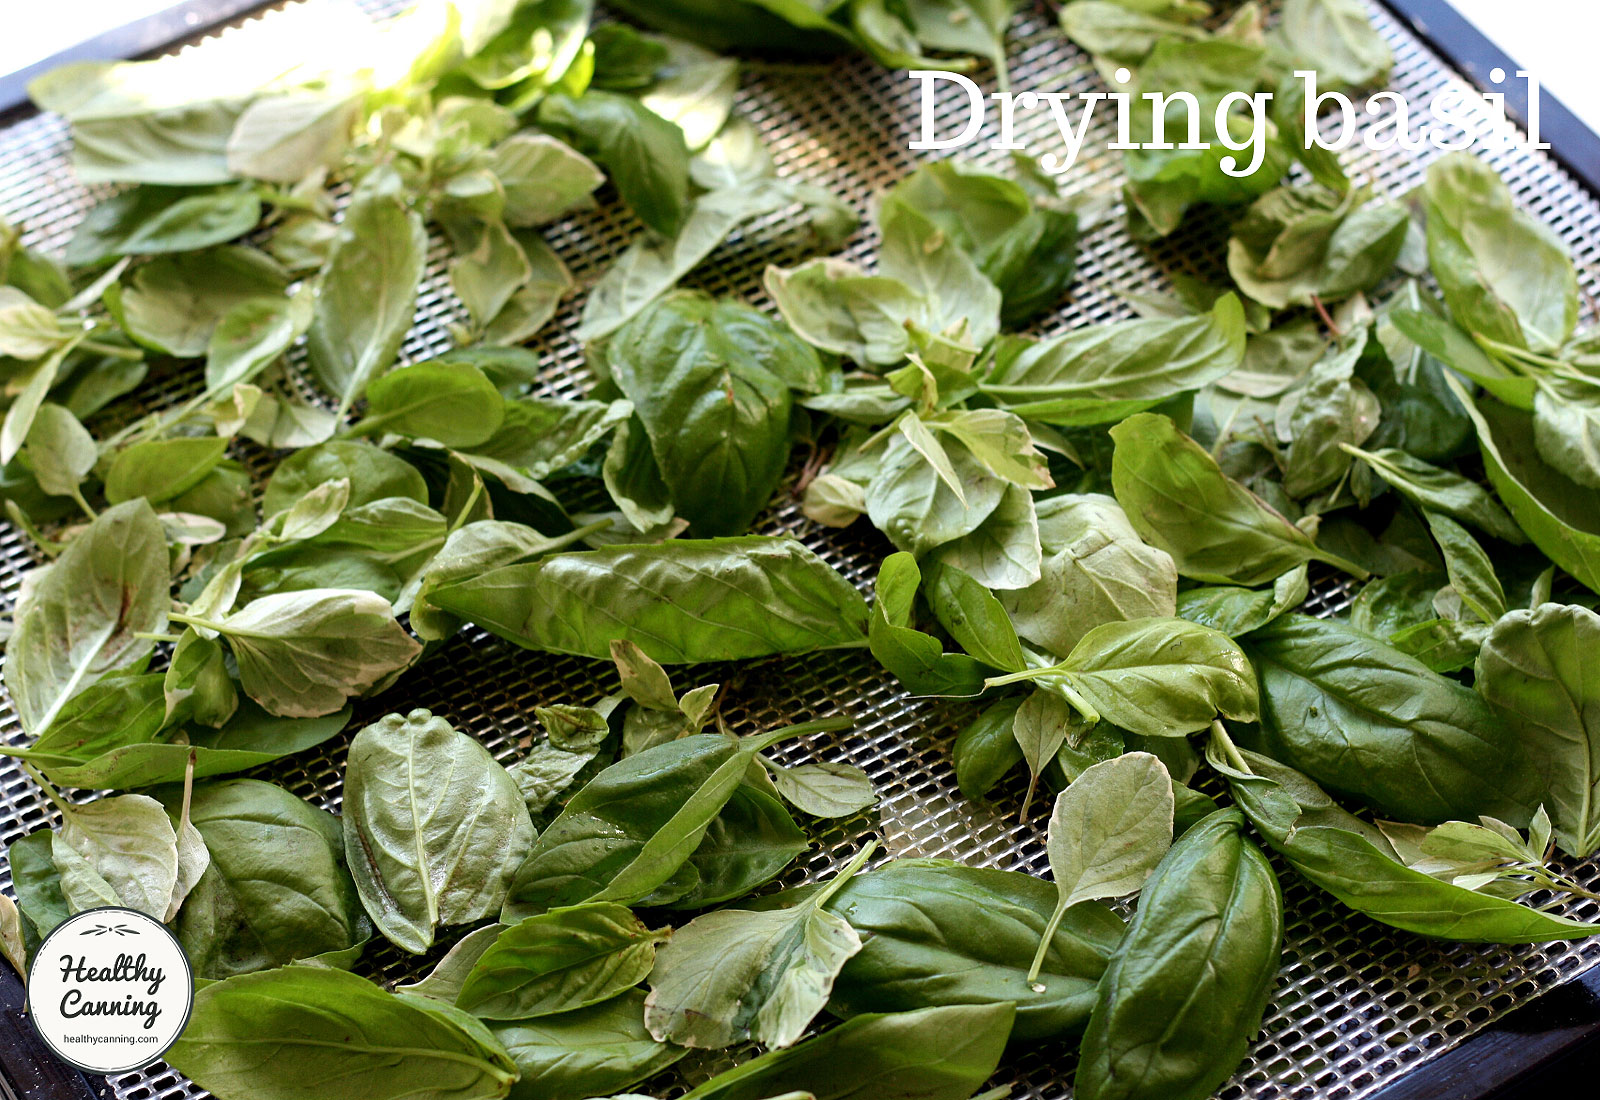
Basil on tray ready to dry
backlinks seo 2017
I always was concerned in this topic and still am, regards for putting up.