Water bath processing is a processing method used in home canning for high acid foods. Jars are filled with food, sealed loosely with a lid, then boiled completely covered in vigorously boiling water for a prescribed amount of time indicated by the tested recipe you are using.
High-acid foods are items such as jams, jellies, most fruits, pickles, relishes, chutneys, salsas, and tomato products with added acid.
If you want to understand the reasons behind all the steps, please see Water Bath Canning Theory.
If you are new to home canning and have not purchased a water bath canner yet, Health Canning recommends that you consider steam canning instead for your high-acid foods. It has been approved as an equivalent to water bath canning, and saves time, energy, water, and money.
University of Georgia video
Water bath canning preparation
Before you start, check your recipe for the water bath processing time.
If the recipe calls for a processing time of less than 5 minutes, you must sterilize your jars and lids. If the processing time is 10 minutes or longer, research has now shown that sterilizing them is a waste of time and energy — just wash the jars. Even if the jars are brand new, you’ll want to get broken glass dust, mouse turds (sic), etc., from the factory and warehouses off them.
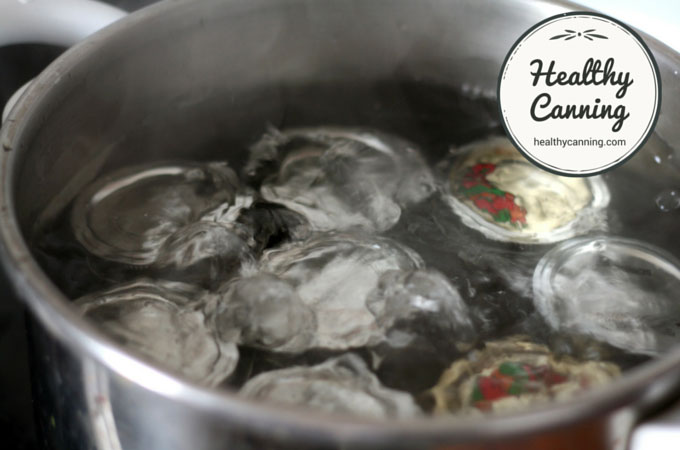
Whatever you do, do not boil the lids.
(This is a lot less prep work than was called for in the old days, thanks to new research.)
FYI, the screw band canning rings do not need and never needed sterilization as they never touch the food.
In terms of your own personal work time, don’t forget to schedule in these times which are additional to the processing time adjusted for your altitude:
- the coming up to boil time (approx. 25 minutes depending on size of pot and heat of burner);
- 10 to 15 minutes for the water to return to a vigorous boil after you put the jars in;
- 5 minutes at the end for the jars to rest in the pot with the heat and cover off.
Have enough water in the pot that you will use for canning to be able to cover the jars by 3 cm / 1 inch. (Allow 5 cm / 2 inches of water if the processing time will be longer than 20 minutes.)
For your first few times using your water bath canner, it’s best to have a kettle of boiling water standing by for quick top-ups as you learn over time how to judge the water it wants. In fact, even old hands find that when water bathing, you never regret having a spare kettle of boiled water handy: there will be times you need it in a hurry.
Add a few tablespoons of white vinegar to the water bath to prevent the outside of your jars going cloudy. (Some people say instead to add cream of tartar to the water, but other people report that that left the outside of their jars a cloudy mess that was harder to clean than the jars would have been with nothing in the water.)
You can use smaller size jars than indicated, but never larger size jars than indicated. Process smaller jars for the same time as indicated for the larger jars called for, unless separate times for the smaller sizes are given.
Reminder: only high-acid (aka low pH) food products can be water bathed.
[Note: if you want to understand the rationale for all this, see our summary of the reasons behind water bath canning procedures.]
Water bath processing steps
- Put the food in the jars;
- Put the lids on;
- Have something on the bottom of the pot to be between the jars and the bottom of the pot;
- Put the jars upright in the water. Ensure the jars are covered by 3 to 5 cm (1 to 2 inches) of water. If not, add more water now. (Don’t be tempted to try to cheat and lay the jars on their sides — if you do, instead of expelling air, the jars may expel contents!)
- Put the lid on the pot;
- You start timing only from when the water reaches a full, rolling boil. If it was already boiling before the jars went in, then this means when the water returns back to a full rolling boil. The time needed to heat up the water in the canner does not count as part of processing time! (You’ll have to lift the lid frequently to check to see when the full boiling has started);
- Let the canner boil for the prescribed time. It is most efficient to have the lid on the canner during this interval;
- When the time is up, turn off the heat, and remove the canner lid. (You can leave the canner where it is, or move it if you are able to safely move it and need the burner);
- Leave the jars as they are in the canner;
- Set a timer for 5 minutes;
- At the end of 5 minutes, remove the jars and place them on a towel or a wire rack somewhere away from cold drafts;
- Do not cover jars; do not touch rings (unless you are using Tattler lids); do not tilt jars or turn them upside down or try to clean or dry them now. Any water on them will quickly evaporate;
- Let jars sit untouched for 12 to 24 hours;
- Remove screw bands; check for proper seal of the flat lid;
- Put any that didn’t seal in the fridge and treat as opened;
- Wipe the jars down; label and date jars, store in a cool dark place with the screw bands off.
University of Georgia video
If you follow the steps above, your water-bathed food products will be 120% safe and of superb, long-lasting quality. The process is founded on research-based science with loads of margin for error built in to cover the variables of daily life.
See also our summary of the reasons behind these water bath canning steps.
[easyazon_infoblock align=”none” identifier=”B004QEAQ4G” locale=”US” tag=”cooksinfo06-20″]
Caution about jars that don’t seal
The advice about putting jars that didn’t seal in the fridge only applies to jars that were water-bathed that should have been water-bathed. It does NOT apply to jars which should have been pressure-canned but were mistakenly water-bathed.
In 2018, 3 people in New York City got botulism from plain peas that should have been pressure-canned but were water-bathed instead. A jar didn’t seal; it was put in the fridge, and it was that jar that they consumed and contracted botulism from (they likely would have from the other sealed jars as well):
“The U.S. Department of Agriculture guidelines state that “foods in single unsealed jars could be stored in the refrigerator and consumed within several days” . However, this recommendation applies only to cans that have been correctly processed. In the absence of a pressure-canning step, C. botulinum spores were not eliminated, and the closed jar created an anaerobic environment allowing spore germination and BoNT production.” [ref]Bergeron G, Latash J, Da Costa-Carter C, et al. Notes from the Field: Botulism Outbreak Associated with Home-Canned Peas — New York City, 2018. MMWR Morb Mortal Wkly Rep 2019;68:251–252. DOI: http://dx.doi.org/10.15585/mmwr.mm6810a5external icon.[/ref]
More information on water-bath canning on healthycanning.com

Altitude adjustments for steam and water-bath processing
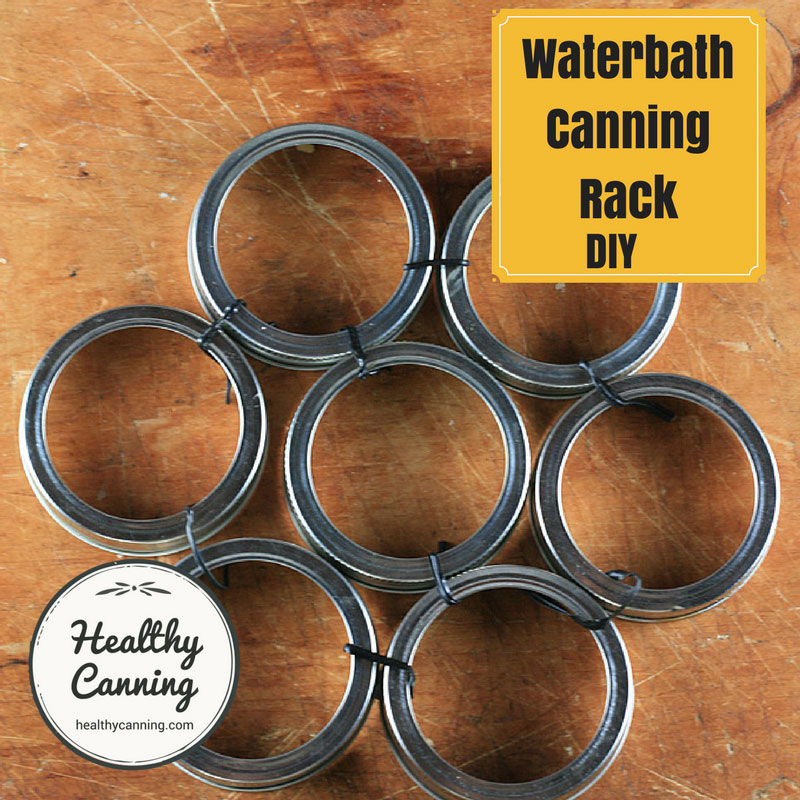
Improvised Canning Rack / Bottom Trivet
Water Bath Canning Theory
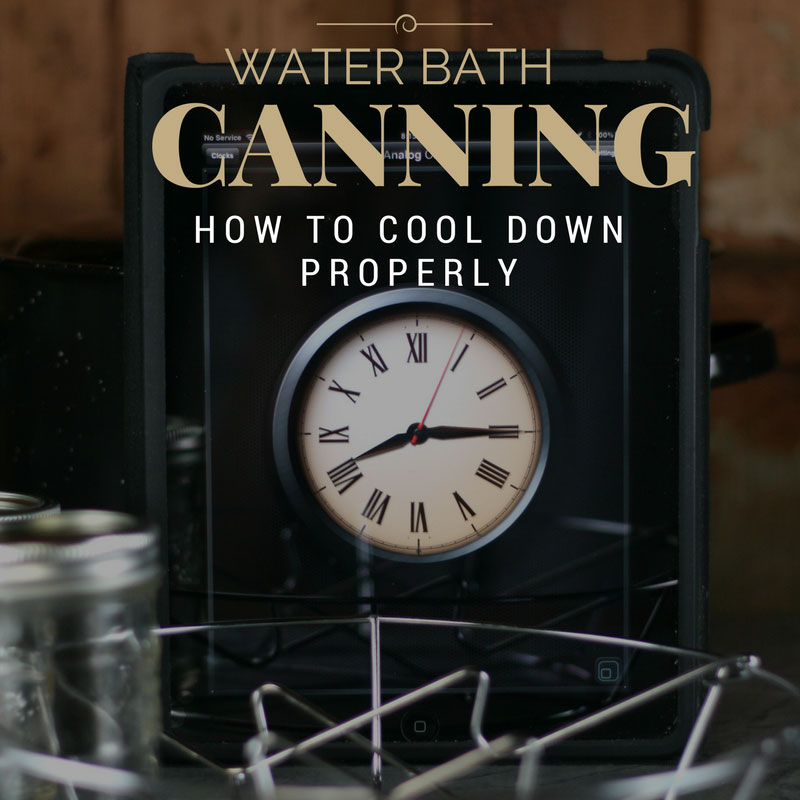
Water-bath canning: the cool down process is important
Further reading
Andress, Elizabeth. Preserving Food: Using Boiling Water Canners. Athens, GA: University of Georgia, Cooperative Extension. June 2011.
Andress, Elizabeth. “History, Science and Current Practice in Home Food Preservation.” Webinar. 27 February 2013. [Water bath canning is 1:05 onwards.]
Ball’s advice on water-bath canning step by step
University of Nebraska video
Lisa Hahn
I water bathed tomato sauce yesterday BEFORE finding this site. During cooling I noticed bubbles in the sauce and lightly tapped the bottles on the toweled surface to cause the bubbles to rise. After reading this article I’m worried that I might have created a seal problem. The lids feel secure. I can still see a few small bubbles in some of the jars. Should I remove all the lids to be safe and re-bath?
Donna Jenks-Brown
I’m getting ready for canning but I don’t have a washer machine, how can you use some Ball canning jars if you’re not able to use one? Help?
Celia
wash your jars in hot soapy water, rinse, after washing and rinsing you can sterilize them by boiling for 15 minutes or put jars in microwave and set for 1 minute. make sure you put a jar of water in with them. then you can fill your jars and process.
Susan Dowd
This was absolutely awesome thank you for all the information!
Kelly
Thank you for this excellent and easy to follow tutorial. I have never used a water bath for anything I canned because my grandmother did not. I’ve become worried about the process she used so I just made bread and butter pickles from your recipe and am now using the water bath method. Thank you.
Pam
Really, really would like this in printable form. Can’t find option. Cut and paste is ugly. Help please.
Thanks
Healthy Canning
Try printing now; we just spent the past few days improving the results when printing.
RP
Hello! Thank you for this website. I’ve learned a lot about pickling this year after I kept a very successful garden. The first method I learned about was open kettle canning, though after reading this website and a website provided by the USDA to encourage safe canning, I threw out my first batch of pickles and hot water bathed everything in straight vinegar from then on. This method makes decent pickled hot peppers to add to soups and stews, and I’ve got a lot of them to last through the winter, even though I wasn’t counting.
Chris
If I made stew for dinner, can I water can the left overs?
Healthy Canning
Do not can leftovers period. Put in fridge, use up in one to three days, or, freeze them.
Mari
How long do I leave them to boil for if I live in antelope valley California
Healthy Canning
Altitude guidelines are here: https://www.healthycanning.com/altitude-adjustments-for-steam-and-water-bath-canning/
Susan
Is there a safe way to can French onion soup in hwb?
Healthy Canning
No. Freeze it.
Anita Garrett
What can I use if I don’t have a rack
Healthy Canning
See here: https://www.healthycanning.com/improvised-canning-rack-bottom-trivet
foodquest
What is the canning method in which the jars are waterbathed 3 different times, allowed to cool down in between the water baths? The method is supposed to destroy more of any remaining heat resistant spores which can activate after the first water bath. I’ve only seen a reference to this method once in a canning booklet which I don’t have access to any more.
Healthy Canning
It’s called Intermittent and it’s pretty awful. It basically encourages micro organisms to grow in your food. We have a page about it here: https://www.healthycanning.com/fractional-sterilization-intermittent-processing/
Jerry Tuusa
Will water canning still work if you don’t completely submerge the jars ?
Healthy Canning
The jars are to be fully submerged for water bath canning. On the other hand, for steam canning, you don’t submerge the jars at all: have you considered trying that as an energy and water saving alternative? https://www.healthycanning.com/steam-canning
charlotte franson
recipe for hot water bath for pumpkin pie filling
Healthy Canning
No such safe recipe exists. Freeze it.
Lisa
can you use a water bath to make pinto bean
Healthy Canning
No.
Darlis Epstein
If you used a water bath after the processing time and then you have the 5 minute before lifting out. I was sidetracked and took out about 10 minutes later . Good or trash?
Healthy Canning
That is fine.
Donna
Do I have to water bath immediately or can I make all my batches of jam and then water bath a few hours later
Healthy Canning
You could store the jam in the fridge covered for a while if you are interrupted. But when you go to can it, heat the jam back up to the boil. All jam canning recipes have their processing times based on the expectation that the jam will be boiling hot when it is put into the jars for canning.
Jan Belliveau
When you use a water bath does any water ever get into the jars if they have been sealed and a screw cap is on the jars
Healthy Canning
No.
Chantal Bristow
WOuld you be able to tell me if I can sterilise blackberries (water canning I suppose) with no sugar, and if so, how long after the boiling point must I keep them boiling? Thanks. I cannot find any suggestion anywhere.
Healthy Canning
Here is how to home-can blackberries, from the USDA.
Dave Whiteman
When using water bath method, how high do you bring the water on the jars. If i double stack the jars do I put water clear to neck of second layer? Does double stacking change the process time?
Healthy Canning
Whether stacked or not, the jars should be covered by 1 to 2 inches (5 cm) of water.