Hop cones on a bine. Rita E. / Pixabay.com / 2016 / CC0 1.0
Hops (Humulus lupulus) are the flowers of a perennial climbing plant called a “bine” (vine), which dies back each fall and regrows the next spring. They are used as an herb in brewing beer; they have a bitter flavour that balances the sweetness of the malted grain, while also providing other flavours and aromatics to the beer. Dried hops can also be used in herbal tea mixes. Dried herbs ground to a powder can be used as a bitter-note spice sprinkled as a garnish on dishes, or, as a component of spice and rub mixtures.
They need to be properly dried before they can be stored. Small-batch home drying techniques differ somewhat from commercial techniques. At home, a dehydrator can be the best tool for obtaining the highest quality product.
Yields and Equivalents
3 cubic feet / 85 litres of fresh hops on vines = 1 kg / 11 quarts fresh hops only, picked off vines
100 g dried will fit into a 4 L bag / 1 gallon freezer bag, well-packed down.
When to harvest hops
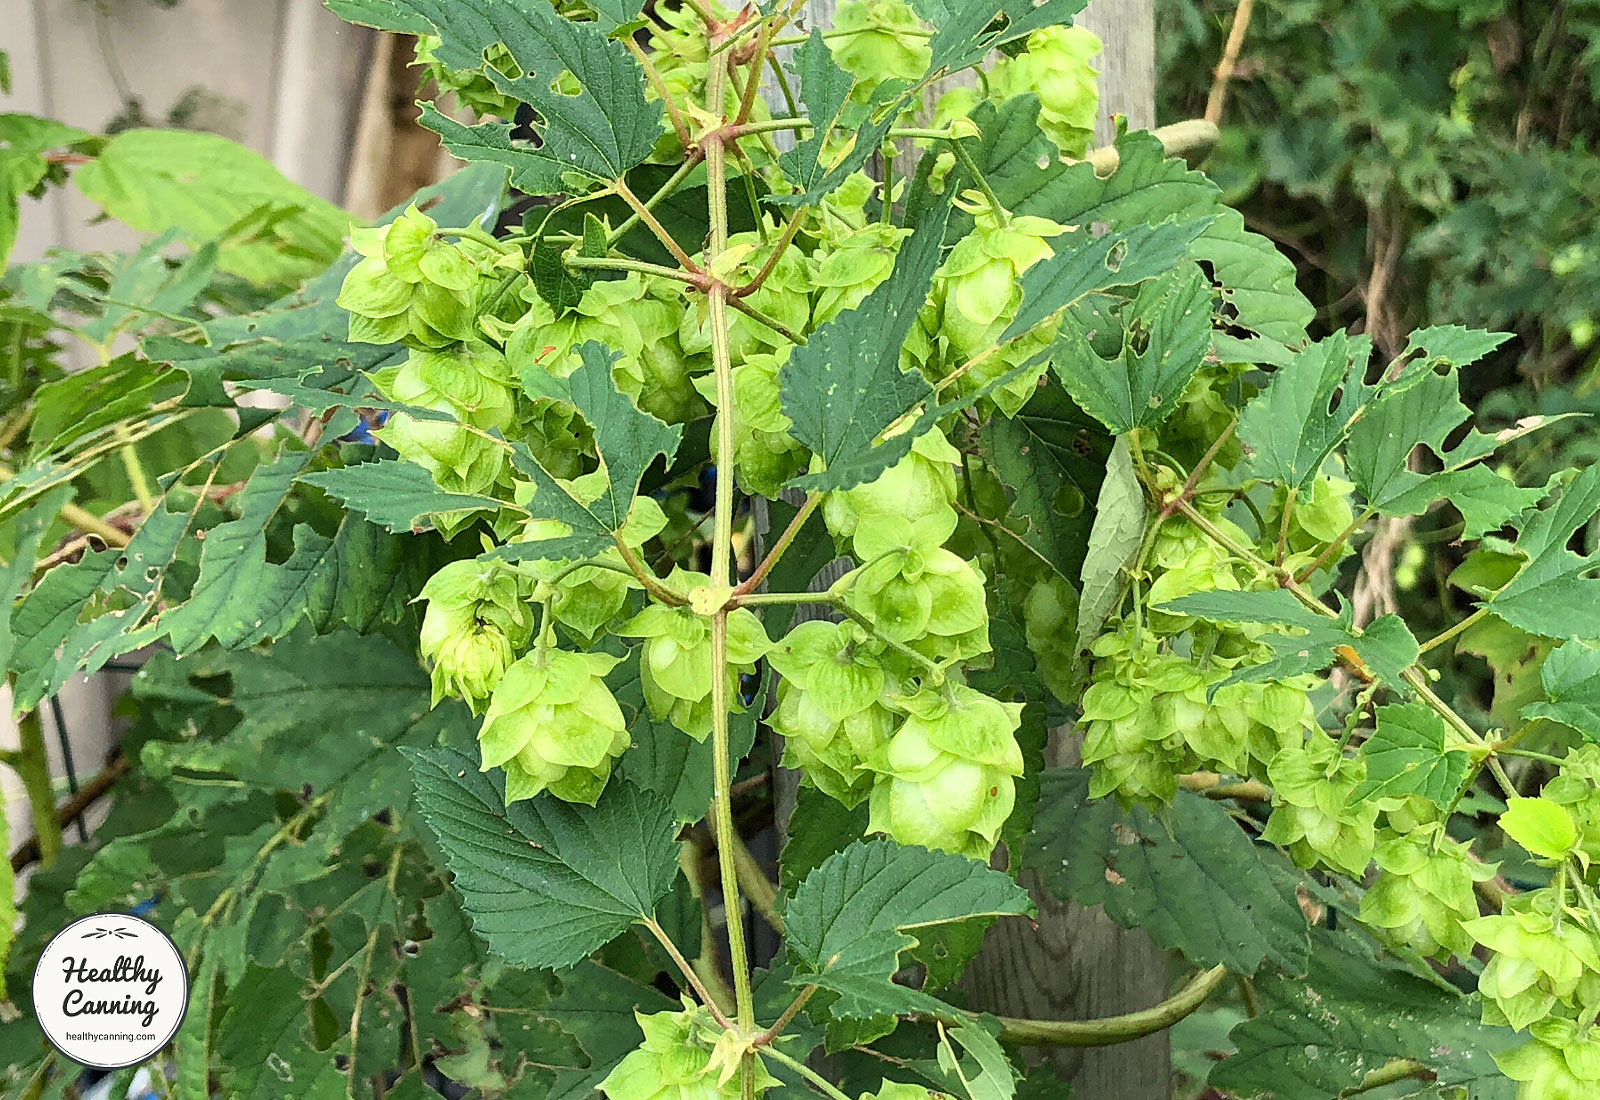
Hop cones ripening on a bine. Healthy Canning / 2019
The best yields come when a bine is three years and older.
You may wish to wear gardening gloves during harvest, in case you end up being one of the people to whom hops cause skin irritation. “Hops dermatitis has long been recognized. Not only hands and face, but legs have suffered purpuric eruptions due to hop picking. Although only 1 in 3,000 workers is estimated to be treated, one in 30 are believed to suffer dermatitis.” [ref]Duke, James A. Humulus lupulus L. in: Handbook of Energy Crops (unpublished). Purdue University. 1983. [/ref]
The flowering parts of hops are called “cones” because they resemble miniature pine cones. These consist of green scales ripening to yellow. When the scales are yellow, the harvest window has been missed: they are overripe and no longer useful for brewing. Another clue about being overripe is that the yellow powder on hops (“lupulin”) will have turned from yellow to orange, and have a rancid smell, rendering them useless for brewing.
That being said, don’t pick the hops too early, either. It is better a little overripe than underripe. There should be yellow lupulin on the outside of the cone. Squeeze the cone. It should spring back in volume when you release it. If it stays pressed in, it’s not ripe enough yet. The cone should have a light, dry, papery feel, and be sticky to the touch. Pick one and smell it. It should have a distinct smell like cut grass. Roll it in your fingers next to your ear: it should sound like paper being crinkled.
Martin Orin, writing for the University of California’s Center for Agroecology says:
“A ripe cone is green, not brown, but it has a lighter hue than the soft but vibrant green of an immature cone. It has a bit of puffed up appearance, and the inside of the cone should be deep yellow (this is the pollen- like lupulin). Feel it: squeeze it (gently)—it should have good “bounce back,” and should feel sticky and resinous, so much so that you can’t get it off your fingers; it won’t even wash off. Smell it: the aroma should go from vegetative and grassy to highly oily, aromatic, fragrant, and well, hoppy. Taste it!: Touch a bit of the yellow lupulin to your tongue. It will be both highly aromatic and bitter, a hoppy bitterness that takes a few seconds to detect.” [ref]Martin, Orin. Hops (Humulus lupulus) – Grow Hops, Grow Beer! News & Notes of the UCSC Farm & Garden. University of California Santa Cruz. Center for Agroecology & Sustainable Food Systems. Issue 159, Winter 2019. Page 7.[/ref]
When a bine is just one year old, pick the cones off one by one. For older bines, cut them back to about a metre (two to three feet) above the ground (they need to be cut back anyway for the winter), and pick the cones off the cut bines.
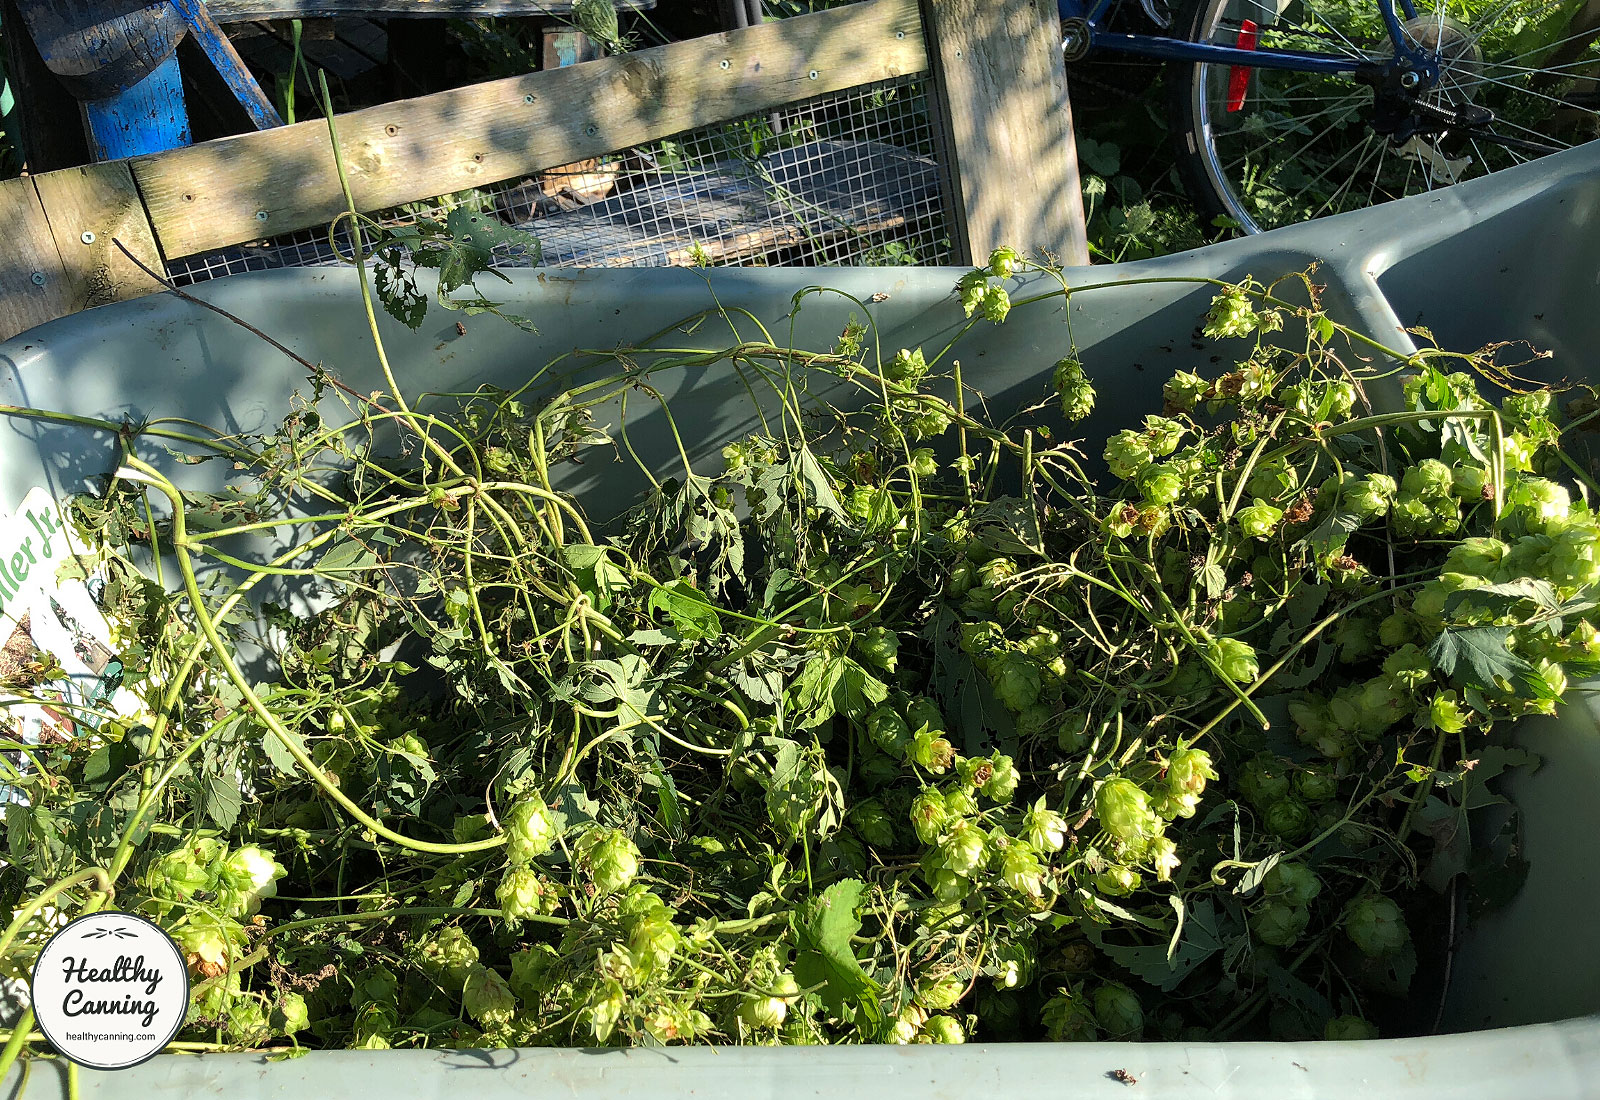
Hop cones on cut bines in a wheelbarrow. © Healthy Canning / 2019
Brewing with fresh hops
You can use hops immediately after picking for brewing. This is called a “wet-hopped beer.” Use 4 to 6 oz (110 to 170 g) of wet hops where you would use 1 oz (30 g) of dried hops. [ref]Moorhead, John. How to Harvest, Prepare and Store Homegrown Hops. American Homebrewers Association. Accessed March 2020 at https://www.homebrewersassociation.org/how-to-brew/how-to-harvest-prepare-and-store-homegrown-hops/ [/ref]
Otherwise, you need to prepare the hops for storage.
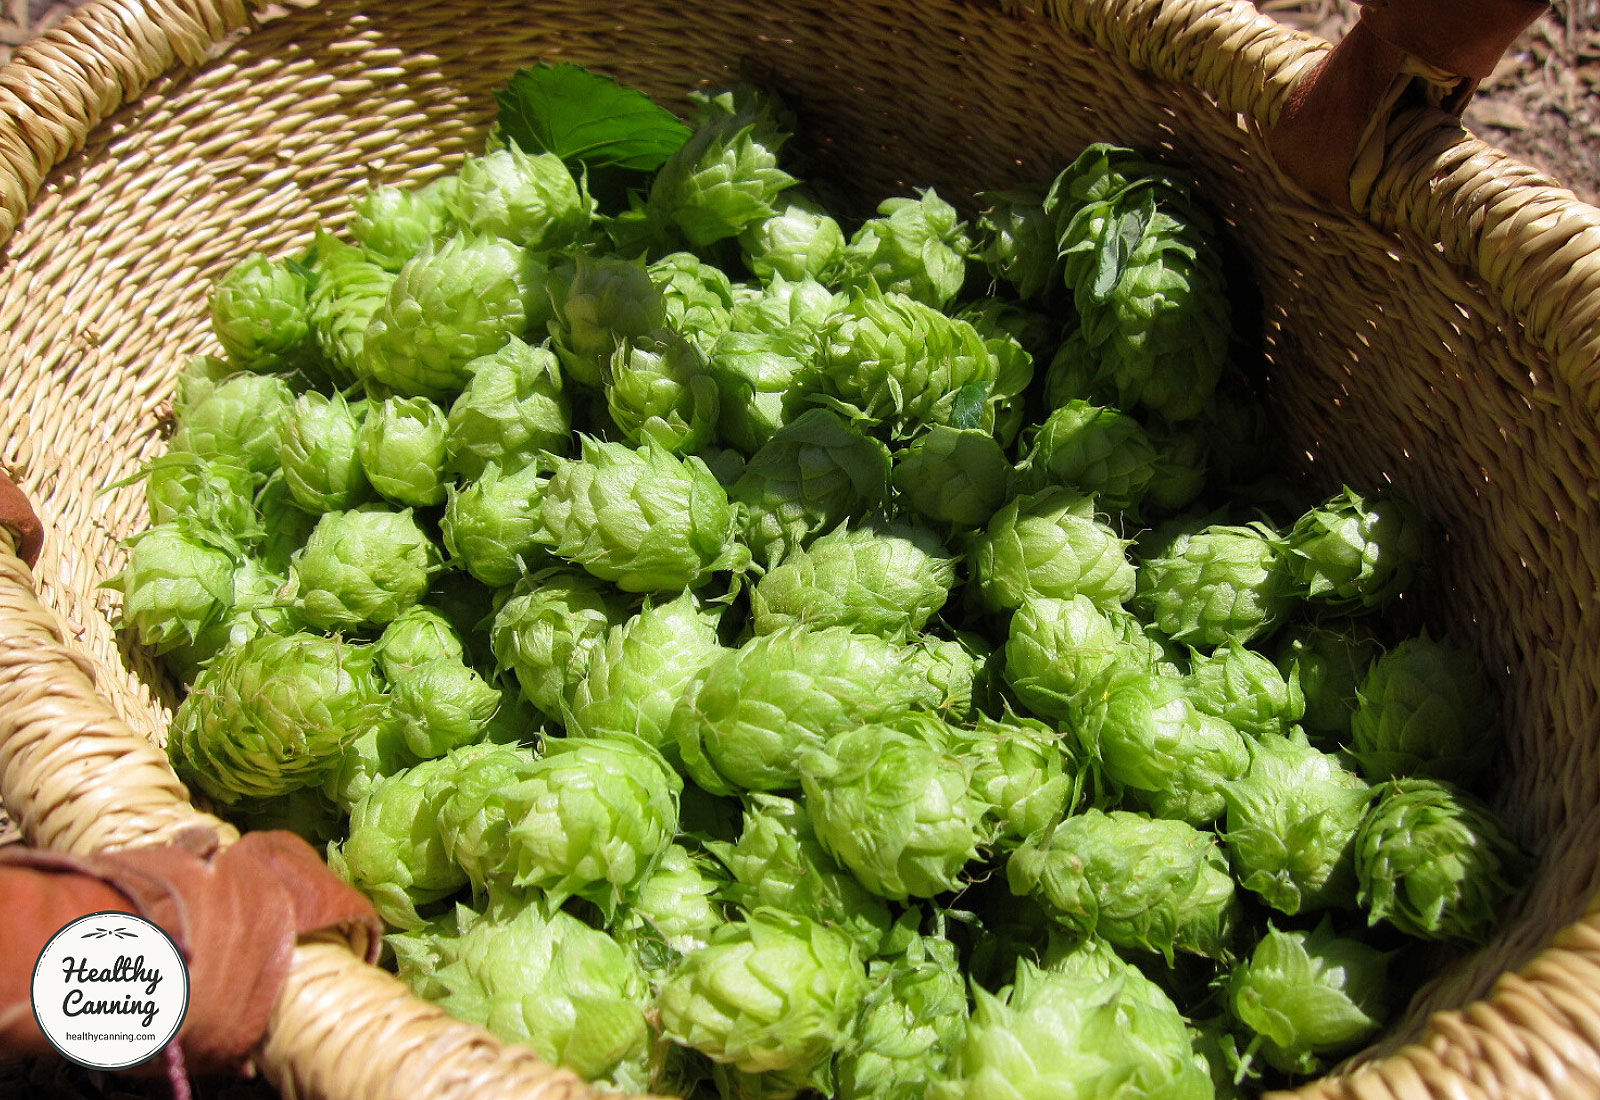
Harvested hop cones in a basket. fishermansdaughter / flickr / 2011 / CC BY 2.0
Preparing hops for storage
You cannot freeze fresh herbs as is with all the moisture in them. As with any leafy green that is frozen in a wet and unblanched state, it will break down during freezing, releasing enzymes that could cause a chlorophyll taste and ruin whatever the hops are used for.
Instead, hops must be dried before storage however you are planning to store them. You can freeze them after drying (and most people seem to): it’s safe to do it then, because the drying deactivates the enzymes. If you are going to store them on shelves in sealed containers, the drying is needed “to prevent mildew or mould growth.” [ref]Colonna, Angela. EDIS Update: Process of Drying Post-Harvest Hops (Humulus lupulus) for Small-Scale Producers Using a Novel Drying Rig. Gainsville, Florida: Institute of Food and Agricultural Sciences and University of Florida, 2019.[/ref]
Hops start off being 76 to 84 percent moisture. Hops stored with too much moisture in them will turn brown, and go musty. They are generally dried until the remaining moisture in them is reduced down to 10% or 8%, but it’s not recommended you go less than 6% moisture, as they get too fragile. [ref]Brown, Diane. Drying hops on a small scale. Michigan State University Extension. 16 September 2013. Accessed March 2020 at https://www.canr.msu.edu/news/drying_hops_on_a_small_scale. [/ref]
The drying process should be started as soon as possible after harvesting them.
Drying needs to be done at low, gentle temperatures to preserve as much as possible of the essential oils in the hops that give them their flavouring and aroma. The higher the drying temperature, the more essential oils are lost.
“Compared to fresh hops, the amount of hop oils decreased by 10% when dried at 40°C (104 F) and by 36% and 43% when dried at 55°C (131 F)… Low-temperature drying of hops is a promising way of gentle preservation of hops, which retains 90% of the original content of flavouring substances at a comparable composition, compared to fresh hops. The lower drying temperature is compensated by longer drying time, so the energy demand of the low temperature (40°C / 104 F) and standard (55°C / 131 F) hop drying is comparable.” [ref]Rybka A., Krofta K., Heřmánek P., Honzík I., Pokorný J. (2018): Effect of drying temperature on the content and composition of hop oils. Plant Soil Environ., 64: 512–516. [/ref]
For this reason, cooler drying temperatures yield a better end product.
Home drying hops in a dehydrator
Small batch home drying is a bit different than commercial drying, though the desired end product is the same.
A food dehydrator is considered by most writers on the topic as the best method for small batches at home. [ref]Moorhead, John. How to Harvest, Prepare and Store Homegrown Hops. American Homebrewers Association. [/ref] It dries them quickly, so that they do not become light struck as spreading out on drying screens forgotten for days could cause. And, it’s a gentle heat compared to an oven, which can “overcook” the hops and destroy many of the essential oils in them. A dehydrator also yields a very uniform level of dryness.
The Homebrewer’s Garden says of dehydrators:
“Commercially available food dehydrators such as the American Harvest Snackmaster and the Excalibur 2500 work well for hops. They have the added advantage of allowing you to control the temperature. We have found that 95 F (35 C), the lowest possible setting, works well enough and doesn’t damage the hops. Hops will only take a few hours to dry in a dehydrator, so monitor them closely, to avoid overdrying. If the cones are wide open, brittle, or yellowish in appearance, then they have been dried too long or at too high a temperature or both.” [ref]Fisher, Joe and Dennis Fisher. The Homebrewer’s Garden, 2nd Edition: How to Grow, Prepare & Use Your Own Hops, Malts & Brewing Herbs. Adams, Massachusetts: Storey Publishing, 2016. Page 50.[/ref]
People who have experience in using a home dehydrator will recognize immediately that 95 F / 35 C is the standard temperature at which herbs are dried to preserve all their flavours and aromas, so it will just make sense to treat hop cones, which are essentially herbs, the same.
Directions for drying hops in a dehydrator
Preparation: Do NOT wash. Separate cones from bine, handling gently so as not to knock out too much of the yellow powder. Spread out on trays. If you have many hops, separate them into 25 g or 30 g (one or two ounce) batches and aim to dry in batches.
Blanching: None.
Temperature: 95 F / 35 C
Time: Approximately 8 to 9 hours. Check status after 4 hours.
Quality: High
Reference: Dehydrator blog. Best Food Dehydrator for Hops. Accessed March 2020 at https://dehydratorblog.com/best-food-dehydrator-for-hops/
The Brewers Friend blog says, “The dehydrator was done in 8-9 hours on the lowest setting of 95 F (35 C). After 4 hours many were still damp when I squeezed them. After 8 hours all but one or two were completely dry. Right around 9 hours in the dehydrator was perfect for this year’s hops harvest.” [ref]Larry. Drying Hops Using a Food Dehydrator – Great Results. 6 September 2013. Accessed March 2020 at https://www.brewersfriend.com/2013/09/06/drying-hops-using-a-food-dehydrator-great-results/ [/ref]
Storing dried hops
Store dried hops in a dark environment to avoid UV light exposure. (This is also the reason beer is often sold in dark-coloured bottles.) [ref]Campbell, Sean and Brian Pearson. Process of Drying Post-Harvest Hops (Humulus lupulus) for Small-Scale Producers Using a Novel Drying Rig. Institute of Food and Agricultural Sciences, University of Florida Accessed March 2020 at https://edis.ifas.ufl.edu/ep568 [/ref]
Freezing is a storage method many people use, because it provides a dark environment at the same time as a longer storage life. Put pre-weighed batches of hops into plastic freezer bags getting as much air out of the bags as possible, or air tight jars. It is okay if you crush the hops a bit in the bags while flattening the bags to get all the air out. Label the bag or jar with hop type, date of harvest, weight, and freeze. [ref]Moorhead, John. How to Harvest, Prepare and Store Homegrown Hops. American Homebrewers Association. Accessed March 2020 at https://www.homebrewersassociation.org/how-to-brew/how-to-harvest-prepare-and-store-homegrown-hops/ [/ref]
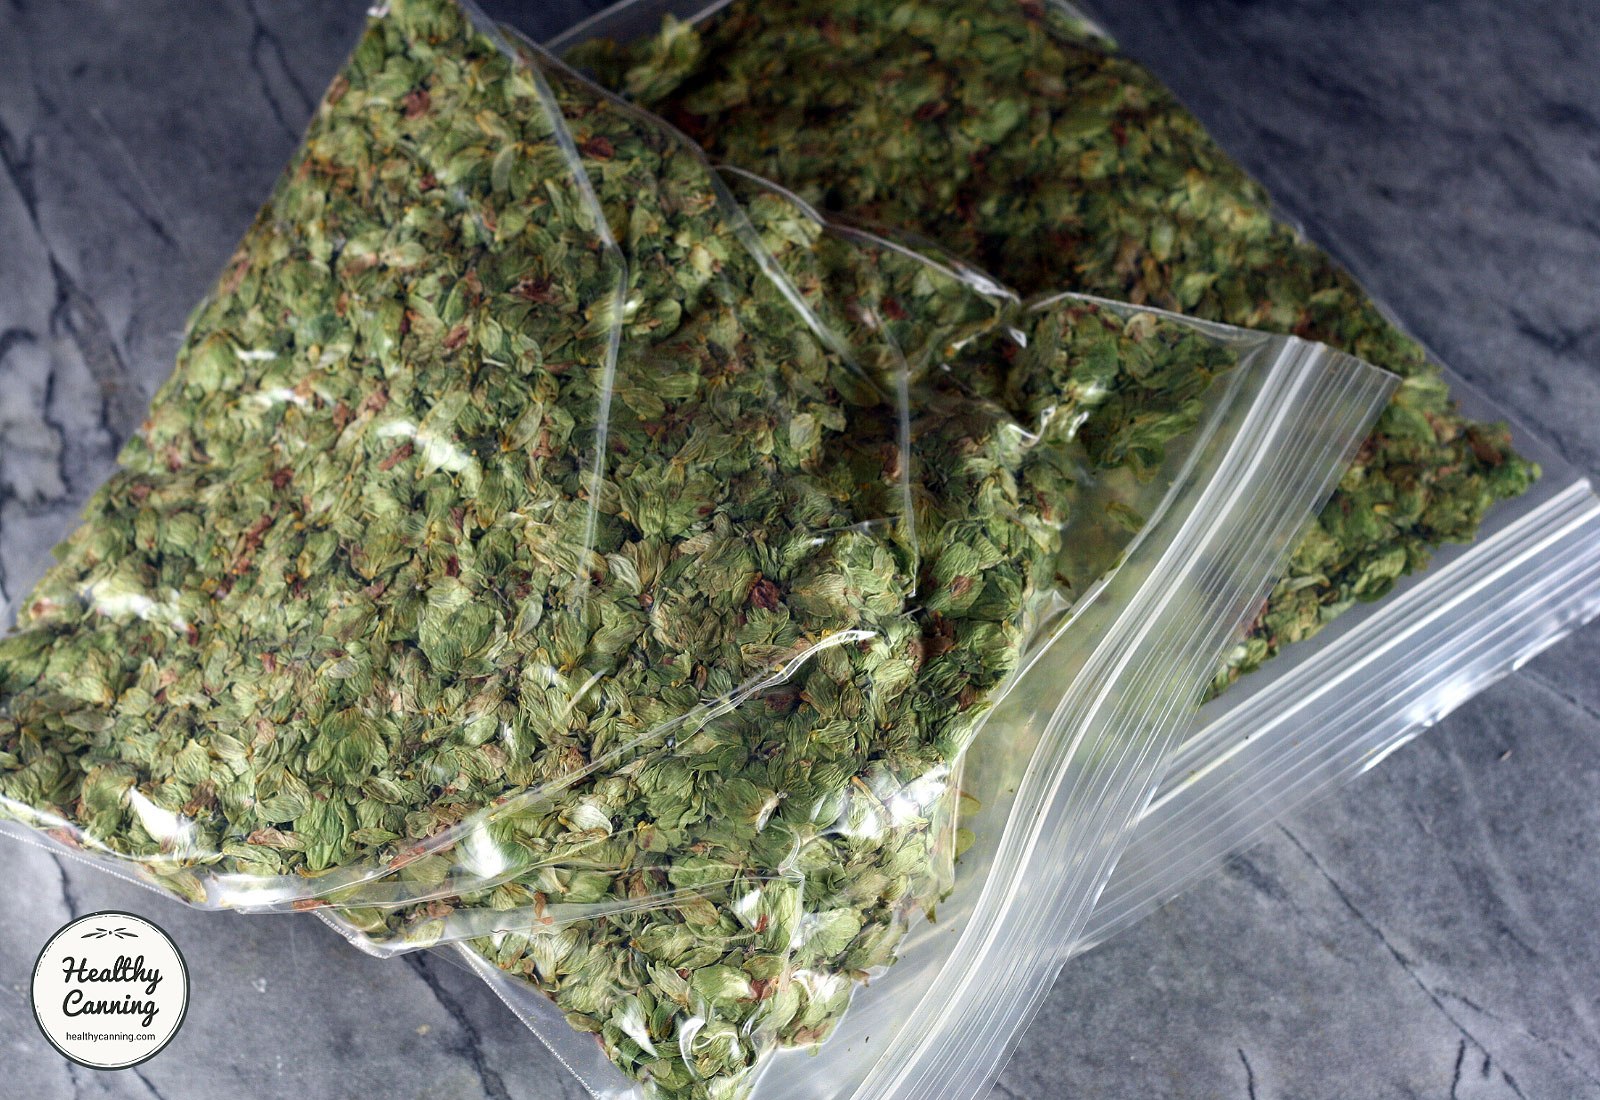
Gallon / 4 litre bags of dried hops. © Healthy Canning / 2019
The Homebrewer’s Garden says,
“Once your hops are completely dry, you should seal them in freezer bags with as much air as possible squeezed out. Make sure to write the hop type and date on each bag with a permanent marker. You might also want to keep an inventory of your hops in a notebook so you’ll know what’s available when developing recipes. We’ve kept hops in a freezer for upward of a year with no loss of quality.” [ref]Fisher, Joe and Dennis Fisher. The Homebrewer’s Garden, 2nd Edition. Page 51.[/ref]
It further advises:
“A standard 1 gallon (3.8 L) resealable freezer bag stuffed full of hops weighs about 1 ounce (28 g). This is handy when it comes to using them in homebrewing; half a bag equals ½ ounce (14 g), and two bags equals 2 ounces (57 g).” [ref]Ibid.[/ref]
Alternative home drying methods
Oven drying hops
Do not dry above 60 C (140 F). Spread out on pan, check them every 20 minutes.
Sean Campbell and Brian Pearson at the University of Florida recommend against both oven and microwave drying of hops, as the temperatures, they say, get too hot. Their maximum recommended drying range is (120°F‒130°F / 49 C to 55 C) [ref]Campbell, Sean and Brian Pearson. Process of Drying Post-Harvest Hops.[/ref]
Drying hops on screens
Spread hops out over something like a house window screen or furnace filters. Place in a warm, dry location inside. Suspend the screen above the floor (perhaps between two chairs), with a fan blowing gently on the screen for air distribution. Occasionally turn the hops and move them about to ensure even drying. Ideally, cover the hops with cheesecloth or “landscape fabric” or something similar if you can. If you use a lower temperature aim still to have the drying done in no more than 3 days. [ref]Moorhead, John. How to Harvest, Prepare and Store Homegrown Hops. [/ref]
The window screen and fan approach can take days and days to finish drying. [ref]Larry. Drying Hops Using a Food Dehydrator – Great Results. 6 September 2013. Accessed March 2020 at https://www.brewersfriend.com/2013/09/06/drying-hops-using-a-food-dehydrator-great-results/ [/ref]
Light during hop drying
Is light a concern during screen drying? Many people drying hops try to avoid excess light, but Sean Campbell and Brian Pearson at the University of Florida say it is not overly a concern. They say that long periods of exposure to light are required before there is any significant degradation:
“Light is often present during the drying process and may be difficult to avoid. Although light can negatively impact quality of harvested material, mainly from exposure to natural ultra-violet (UV) light sources, it often requires long durations of exposure before degradation significantly impacts quality. The most common result of excessive light exposure with hops, or products produced with hops, is the production of unpleasant aromas and flavors. These are often described as skunky, stale, or lightstruck (Beer Sensory Science 2011).” [ref]Campbell, Sean and Brian Pearson. Process of Drying Post-Harvest Hops.[/ref]

Gallon / 4 litre bags of dried hops. © Healthy Canning / 2019. Notice yellow lupulin.
Commercial drying of hops
This section is just for reference, as you will have many keeners cite to you commercial drying guidelines applied to tonne weight batches of hops, even though at home you will rarely be drying more than a few 100 g / oz at a time at the most.
On a commercial scale, hops have traditionally been dried at much higher temperatures. The higher temperatures have been used to heat up the big, cavernous chambers they are being dried in, and as well, to penetrate the deep layers that hops are stacked in for drying, up to 60 cm / 28 inches deep. Think of an oven: even though you might set the oven temperature to reach 200 C / 400 F, the temperature inside the food you are cooking gets nowhere near that.
“On a professional scale, hops are kiln dried between 130F (54C) and 145F (63C). In the kiln they are layered up to 28″ (60 cm) high. The hops are then blended and dried for another 24-36 hours before being packaged.” [ref]Larry. Drying Hops Using a Food Dehydrator – Great Results. [/ref]
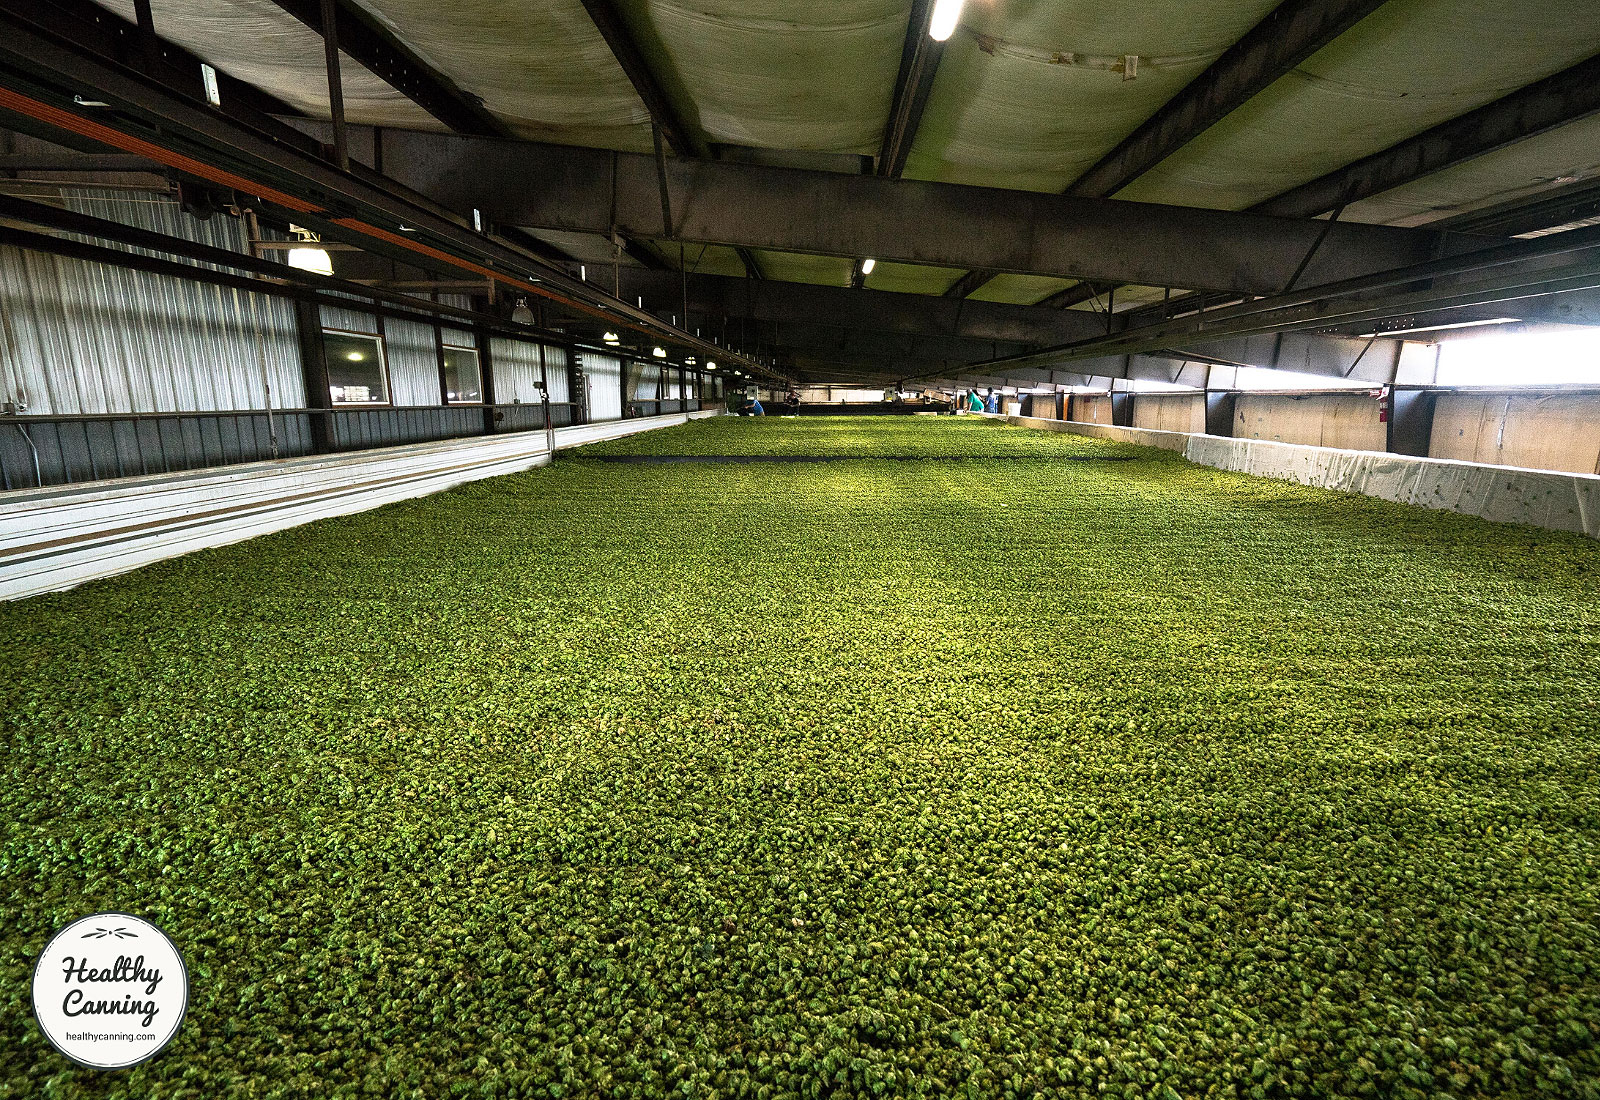
Large hop drying room. Elevate / pexels.com / 2018 / CC0 1.0
Despite this, many craft hop dryers now recommend far lower drying temperatures of 100 F / 38 C or less. “By keeping the drying process at 100 F / 38 C or less, the hops can retain significantly more oils, aromas and other things that makes our beer taste so good.” [ref]Gorst Valley Hops. Cut the Crap about “Low Temperature” Hop Drying. Nekoosa, Wisconsin. Blog entry 21 July 2016. Accessed March 2016 at “https://gorstvalleyhopsblog.wordpress.com/2016/07/21/cut-the-crap-about-low-temperature-hop-drying/ [/ref]
Joseph Wegner of Gorst Valley Hops in Wisconsin maintains that “Quality decreases above 104°F / 40 C.” [ref]Joseph Wegner, Gorst Valley Hops, The Science Behind the Art: Hops in Brewing. Presentation at the 2010 American Homebrewers Conference. Page 3. Accessed March 2010 at http://www.ahaconference.org/wp-content/uploads/presentations/2010/Science_Behind_The_Art-Hops_In_Brewing-James_Altweis.pdf[/ref]
Commercial dryers will weigh fresh hops first, and from that weight, determine a target dried weight they are aiming for. Here is a drying reference tool provided by the University of Vermont for determining final drying weights: Hop Harvest Moisture Calculator.
At home, a food dehydrator — which provides an even air flow over a small batch in a small contained area — allows you easily to dry hops at the lower temperatures that best preserve the essential oils that give them their flavours and aromas. Higher temperatures for such a small batch in such a small space would be inappropriate and likely result in a poorer end product.
If you wish to try drying to a specific weight using the calculator table above, you may. But the “dry to touch” guidelines provided in the Dehydrator Section above should be sufficient for most home-based, small-batch preservers of hops.
Leave a Reply